


Overview
The Skip logic in Groundhogg allows you to bypass specific steps in a flow based on predefined conditions. It acts as a conditional gatekeeper, enabling you to exclude certain contacts from proceeding through designated parts of your automation flow while allowing others to continue. This is particularly useful for creating dynamic, personalized flows without needing to duplicate entire sequences for different audience segments.
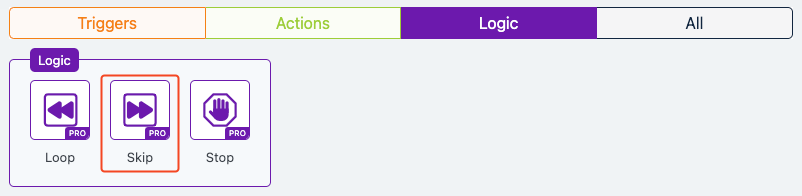
Extension Required!
The Skip Logic is available with the Advanced Features addon. It can be purchased separately or as part of the Agency, Pro or Plus Plans.
When to Use
Use the Skip logic when you want to exclude contacts from certain steps in a flow based on their attributes, behaviors, or engagement. It’s ideal for scenarios where you need to filter out contacts who don’t meet specific criteria (e.g., excluding inactive subscribers from a promotional sequence) or when you want to bypass actions for contacts who have already completed a desired goal (e.g., skipping a purchase prompt for existing customers).
How It Works
The Skip logic evaluates contacts against a set of conditions you define. If a contact matches the condition (e.g., has a specific tag or hasn’t engaged recently), they are excluded from the steps within the Skip branch and proceed to the next step after the Skip logic. If they don’t match the condition, they continue through the steps within the Skip branch as normal. This creates a binary routing mechanism: one path skips the steps, while the other executes them.
Setup Instructions
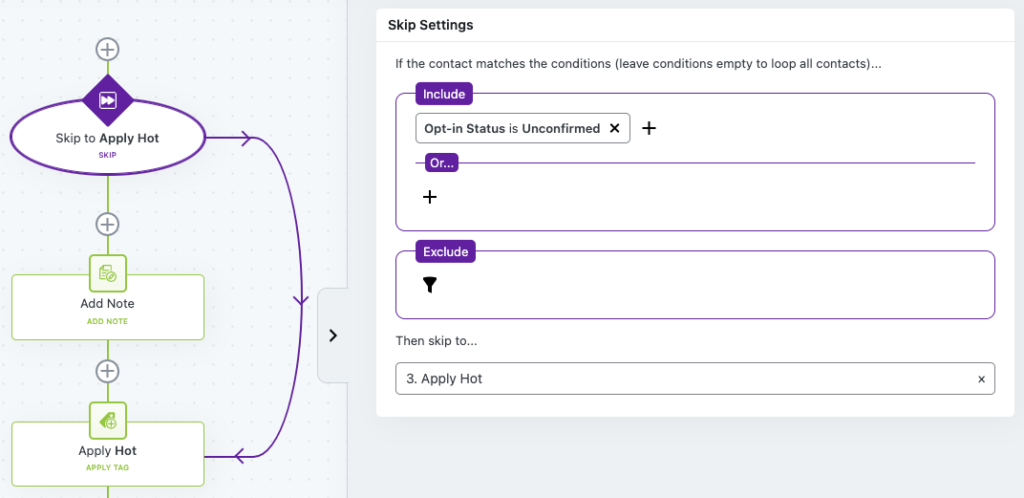
- Add the Skip logic to Your Flow: In your Groundhogg flow editor, drag and drop the Skip logic into the desired position in your flow.
- Configure Conditions: Click on the Skip logic to open its settings. Define the conditions for skipping (e.g., “Has tag: ‘Inactive’” or “Did not open email in last 30 days”). You can leave the conditions empty to skip for all contacts.
- Specify Steps to Skip: Add the steps you want to skip (e.g., sending an email or applying a tag) within the Skip branch. These steps will only be executed for contacts who do not match the skip conditions.
- Add a Delay (if needed): To prevent accidental infinite looping, ensure there’s a delay (like a timer delay or a benchmark) between the Skip logic and the action you are skipping to.
- Save and Test: Save your flow and test it with sample contacts to ensure the Skip logic behaves as expected.
Example Use Case
Imagine you’re running a re-engagement campaign for your email list. You set up a flow to send a series of three emails to subscribers who haven’t engaged in the last 60 days. However, you want to skip the second email for contacts who have the tag “VIP” because they’ve already been offered a special deal. You add a Skip logic before the second email, setting the condition to “Has tag: ‘VIP’.” Now, VIP contacts bypass the second email and move directly to the third, while non-VIP contacts receive all three emails as planned.
FAQs / Troubleshooting
Q: What happens if I don’t set any conditions in the Skip logic?
A: If no conditions are set, the Skip logic will apply to all contacts, meaning everyone will bypass the steps within the Skip branch.
Q: Why are my contacts getting stuck in the flow?
A: Ensure there’s a delay (e.g., a timer or a trigger) between the Skip logic and the steps being skipped. Without a delay, you risk creating an infinite loop, which can halt the flow.
Q: Can I use multiple Skip logic in one flow?
A: Yes, you can chain multiple Skip logics to create more complex logic, but be cautious of overcomplicating the flow, as it can make troubleshooting harder.
Q: How do I test if the Skip logic is working?
A: Run test contacts through the flow, ensuring some meet the skip conditions and others don’t. Check Groundhogg’s reporting to confirm which path each contact took.
Was this helpful?
Let us know if this document answered your question. That’s the only way we can improve.