


Overview
Multi Branch, also known as multi-path branching or prioritized conditional routing, extends beyond the binary Yes/No logic to create versatile, multi-path flows in Groundhogg CRM. This feature allows you to define multiple paths for contacts based on distinct conditions, with contacts following the first path they match in a specified order (left to right or top to bottom). Ideal for prioritizing outcomes or managing diverse audience segments, Multi Branch enhances flow efficiency and scalability.
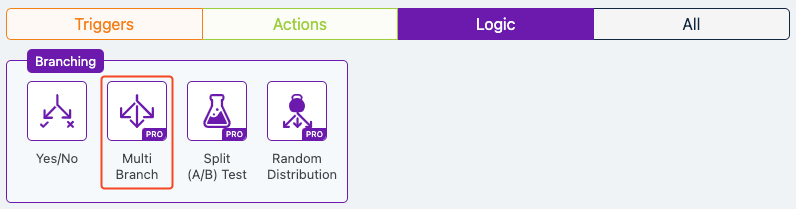
Extension Required!
The Multi Branch Logic is available with the Advanced Features addon. It can be purchased separately or as part of the Agency, Pro or Plus Plans.
When to Use
Use Multi Branch when you need to:
- Streamline complex decision-making without creating separate flows.
- Prioritize specific contact segments (e.g., VIPs over general leads).
- Handle multiple audience types within a single flow.
- Create granular segmentation based on varied conditions like purchase history, engagement levels, or event responses.
How It Works
Multi Branch operates like a multi-lane decision tree:
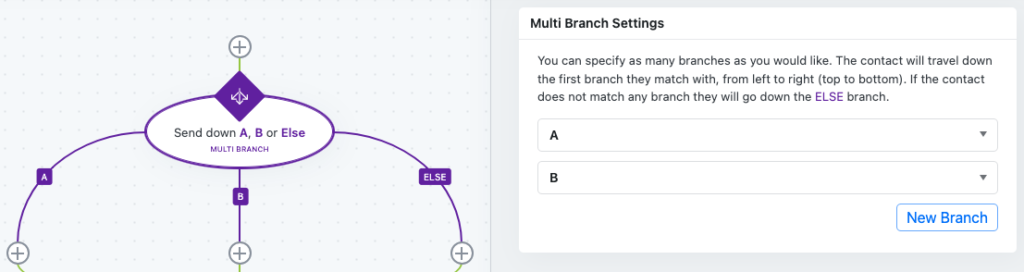
- Default Path: A catch-all path handles contacts who don’t match any conditions, ensuring no contact stalls. Once a contact matches a path, they proceed to the corresponding actions (e.g., sending an email, applying a tag, or enrolling in a sequence), making it efficient for prioritized routing.
- Multiple Conditions: Define unique conditions for each path (e.g., “Purchased in last 30 days,” “Opened email but no purchase,” “Inactive for 60+ days”).
- Priority Order: Conditions are evaluated sequentially. The contact follows the first path where the condition is met, skipping subsequent paths.
Setup Instructions
- Create a Flow: In Groundhogg, start a new flow or edit an existing one.
- Add Multi Branch Step: Drag and drop the Multi Branch Trigger or a multi-condition step into the flow.
- Define Paths:
- Add conditions for each path (e.g., Path 1: “Tag: High Spender,” Path 2: “Tag: Recent Lead,” Path 3: “Tag: Inactive”).
- Arrange paths in order of priority (left to right or top to bottom).
- Include a default path for contacts that don’t match any conditions.
- Set Actions: Assign actions to each path (e.g., send a VIP discount, enroll in a re-engagement campaign, or apply a tag).
- Test the Flow: Run test contacts to ensure they follow the expected paths.
- Save and Activate: Save changes and activate the flow.
Example Use Case
A business wants to segment its email list based on customer behavior. They set up a Multi Branch flow with three paths: Path 1 checks for “Spent > $500” to send a VIP offer, Path 2 checks for “Spent $100-$499” to send a mid-tier perk, and Path 3 checks for “Spent < $100” to send a standard follow-up. A default path applies a “General Prospect” tag for contacts with no purchase history. A customer who spent $600 matches Path 1, receives the VIP offer, and skips other paths, ensuring a tailored experience.
FAQs / Troubleshooting
Q: What happens if conditions overlap?
A: The contact follows the first matching path in the sequence. Ensure conditions are distinct or prioritize the most specific ones first to avoid unintended routing.
Q: How many paths can I create?
A: There’s no strict limit, but too many paths can clutter the flow. Aim for clarity and test thoroughly.
Q: Why are contacts not following the expected path?
A: Check for condition overlap, verify CRM data accuracy (e.g., tags or fields), and ensure paths are ordered correctly. Test with sample contacts to debug.
Q: Can I use a default path?
A: Yes, always include a catch-all path to handle contacts who don’t match any conditions, preventing them from stalling in the flow.
Was this helpful?
Let us know if this document answered your question. That’s the only way we can improve.