


The Contacts screen is where you search, filter, and manage every contact in your CRM. For details on what’s inside an individual contact once you open it, see The Contact Record.
You can access the contact table by navigating to Groundhogg → Contacts.
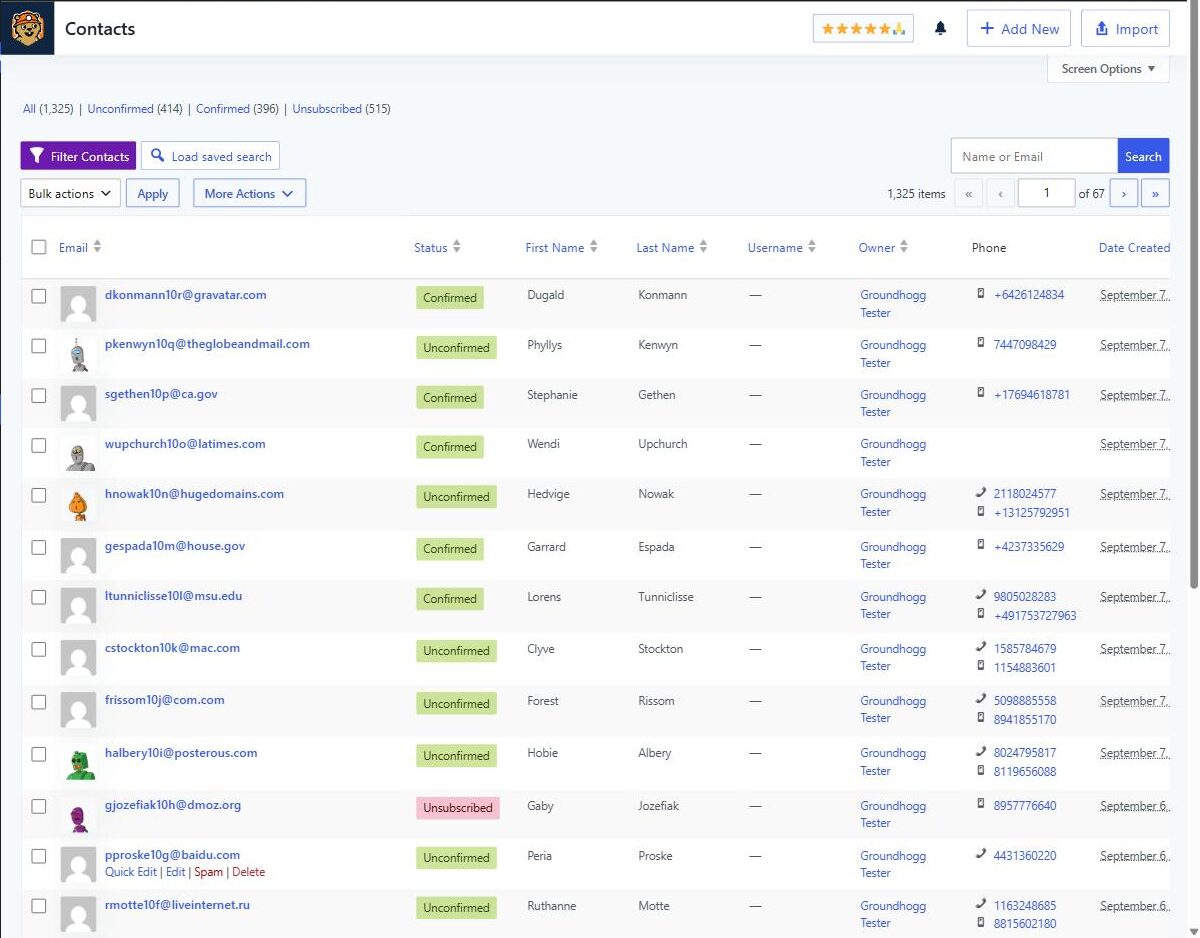
This guide covers each part of the contact table:
- Status Filters
- Adding Contacts
- Columns and Sorting
- Searching Contacts
- Filters
- Bulk Actions
- More Actions
- Screen Options
- Contact Actions
Status Filters
At the top of the Contacts page is a row of links that let you quickly filter contacts by their opt-in status. Each link shows a count of how many contacts currently match that status, giving you a quick way to segment contacts by subscription state.
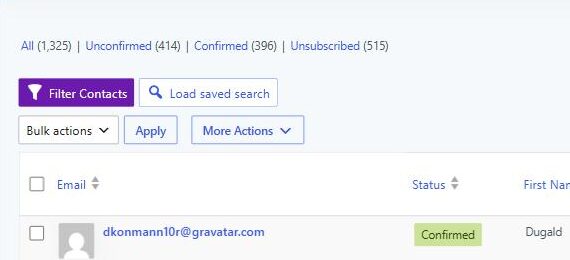
- All – every contact in the CRM, regardless of status.
- Unconfirmed – contacts who haven’t yet confirmed their email subscription, typically because you’re using double opt-in.
- Confirmed – contacts who have confirmed their subscription and can receive marketing emails.
- Unsubscribed – contacts who have opted out of marketing emails.
Click any status to filter the table down to only contacts with that status.
Adding Contacts
You can add contacts either manually or by importing them in bulk. Both options are available from the top right of the Contacts page.
Add New Contact
Click Add New to open the contact editor and manually create a contact record, entering details such as name, email address, phone number, contact owner, tags, and custom fields. This is useful for entering leads collected offline, adding a customer straight from a phone call or meeting, or creating test contacts.
Import Contacts
Click Import to upload contacts in bulk from a CSV file exported from another CRM, email marketing system, or spreadsheet. During import you can map CSV columns to Groundhogg contact fields, apply tags, assign contact owners, and start automations for the imported contacts — useful when migrating from another system or adding a large list at once.
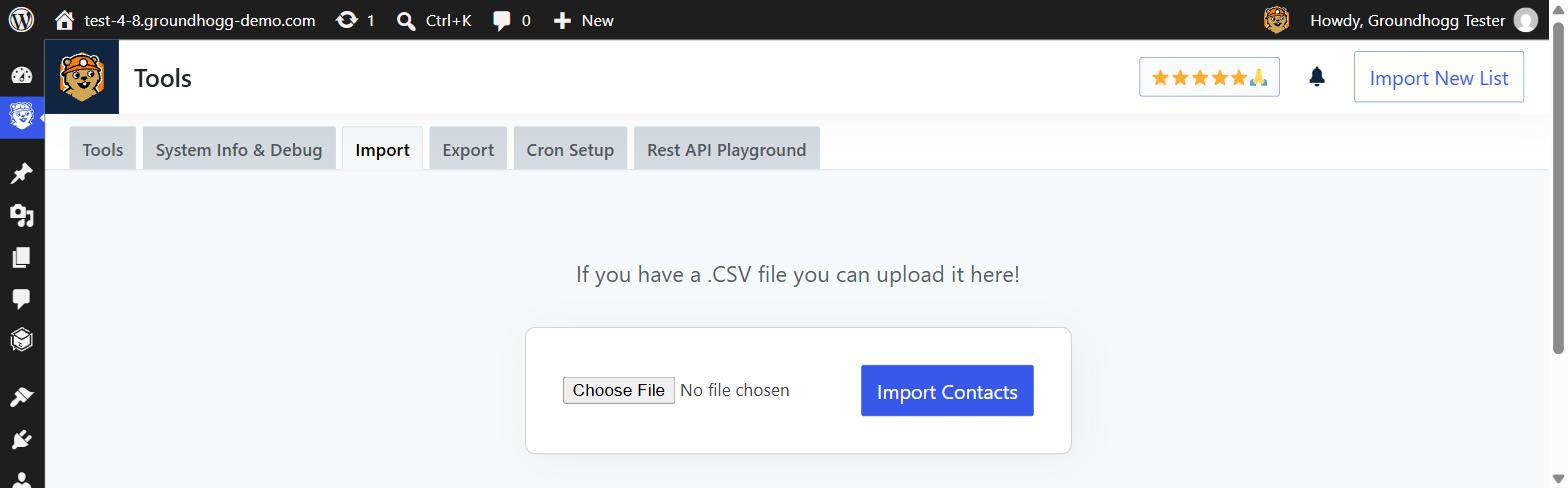
For a complete walkthrough, see Importing Contacts.
Columns and Sorting
The contact table’s default columns are Email, Status, First Name, Last Name, Username, Owner, Phone, Date Created, and Tags.
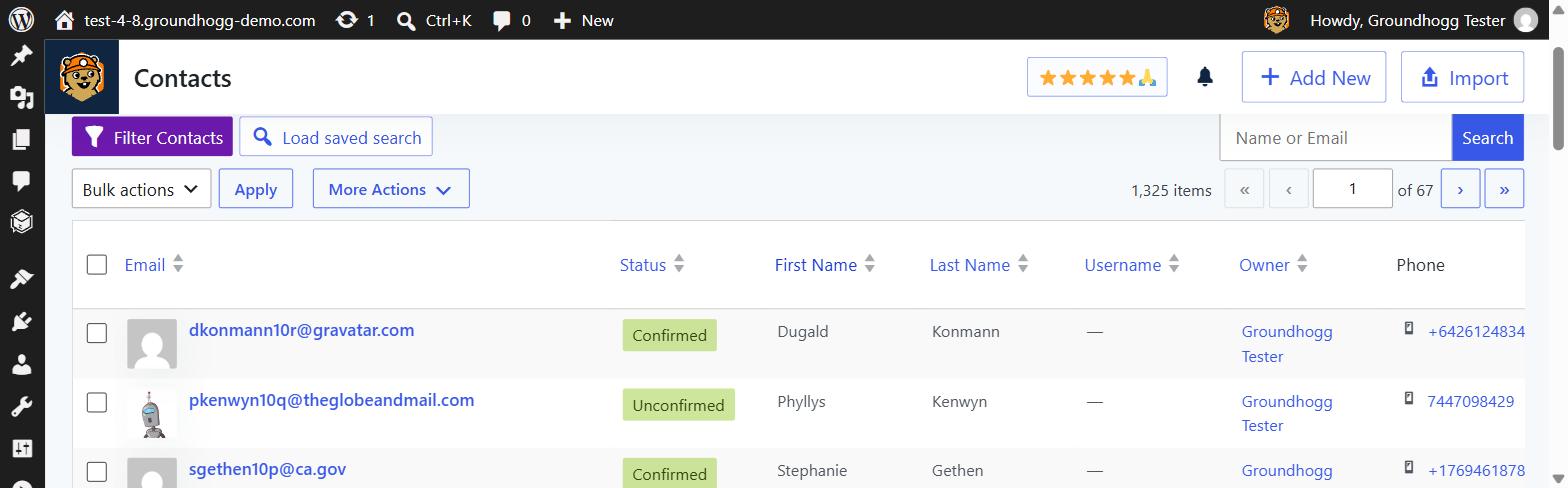
Click any column heading to sort by it — for example, clicking Date Created sorts contacts from newest to oldest, and clicking it again reverses the order. Sorting is a quick way to find recently added contacts, contacts assigned to a specific owner, or contacts with specific tags.
Which columns are shown can be customized from Screen Options.
Searching Contacts
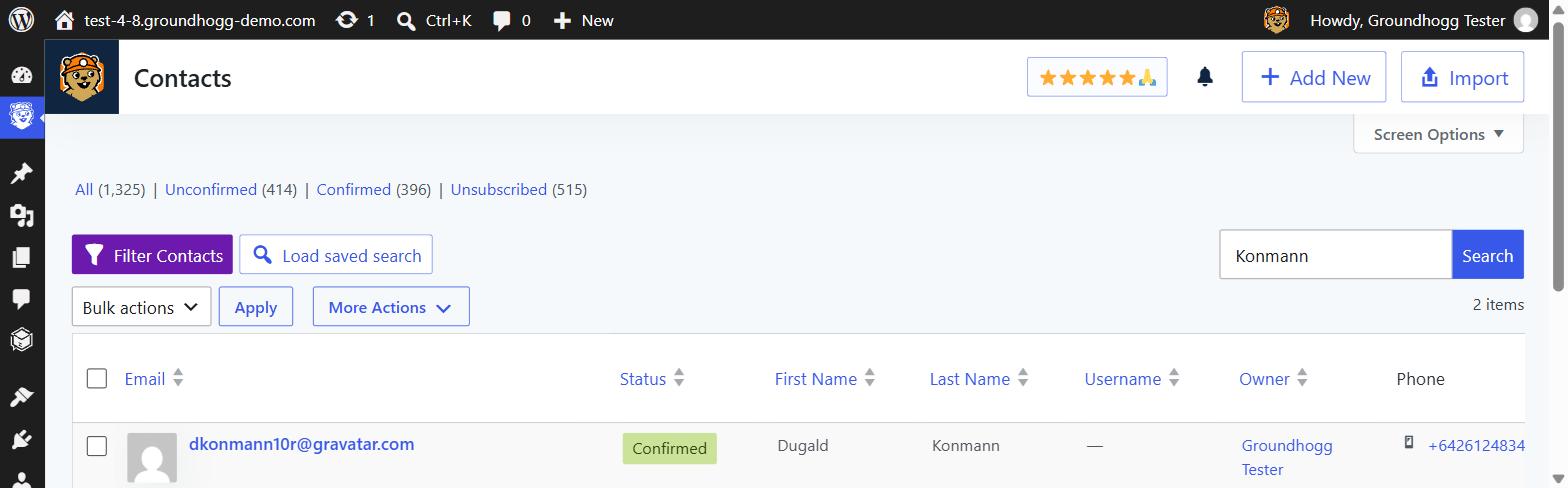
The search field in the top right lets you quickly locate contacts by email address, first name, or last name. Enter a search term and click Search to update the table to matching contacts. For more advanced segmentation, use Filters.
Filters
Filters let you segment contacts based on specific conditions. Click Filter Contacts to open the filtering interface and build conditions from data such as tags, contact status, custom fields, email engagement, flow activity, page visits, and activity history.
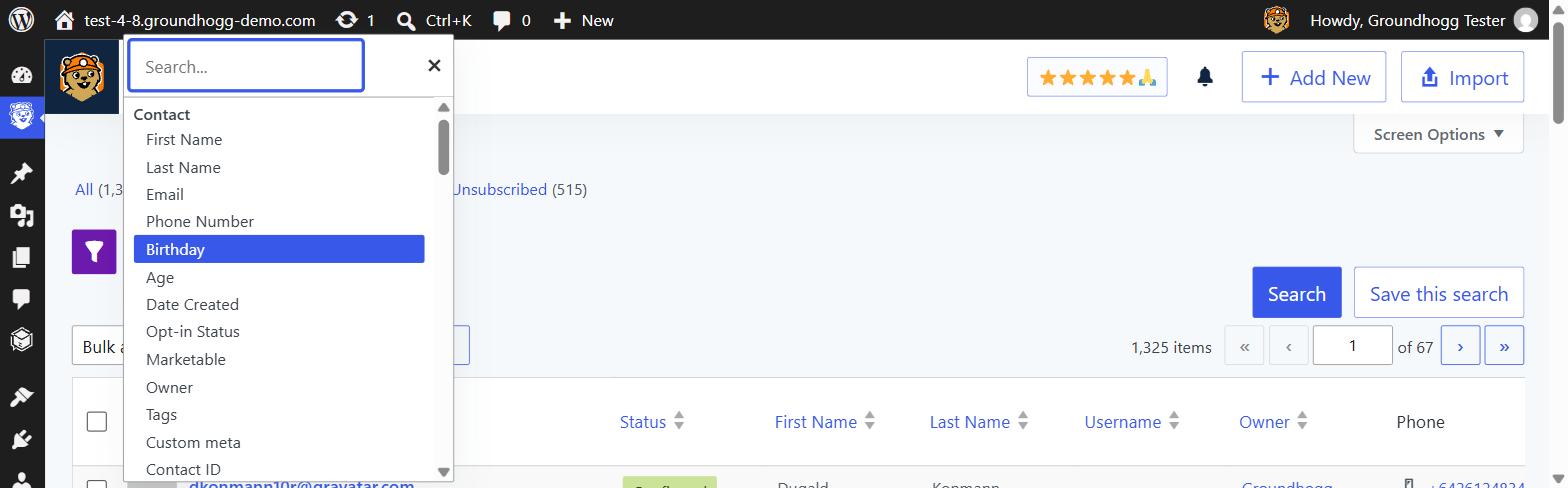
Filters can be combined to create dynamic segments of your audience, and can be saved so they can be reused later.
Bulk Actions
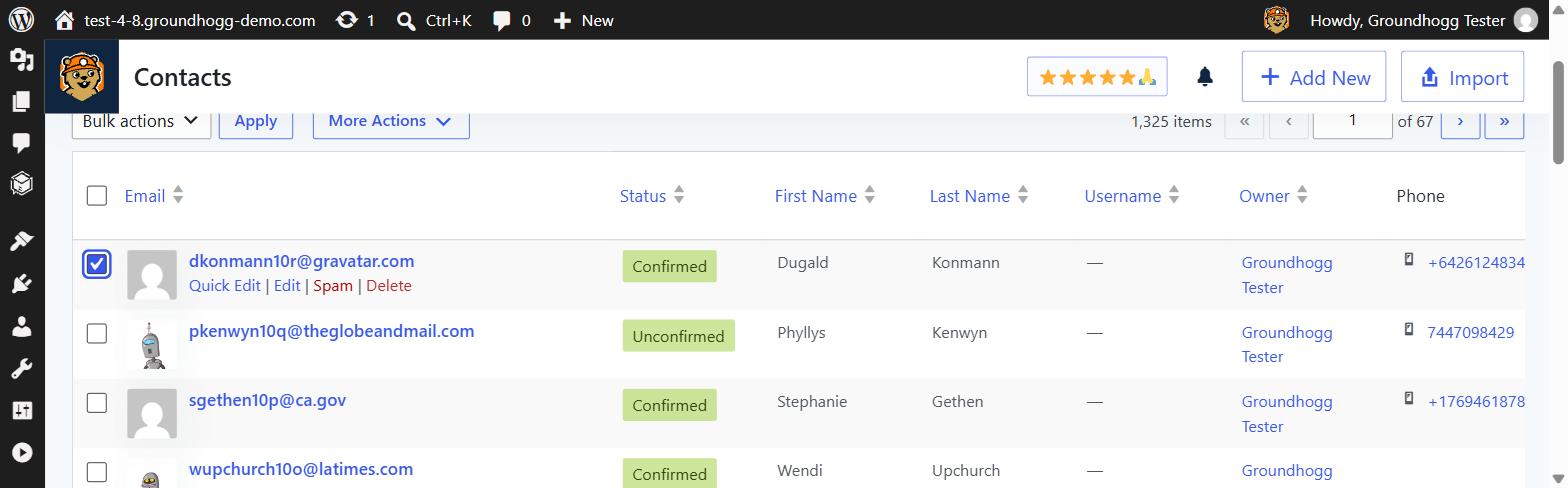
Bulk Actions let you perform one operation — Edit, Export, Delete, Spam, or Re-subscribe — on multiple contacts at once. Select contacts using the checkbox next to each one, choose an action from the Bulk Actions dropdown, and click Apply. This is especially useful when managing large contact lists.
More Actions
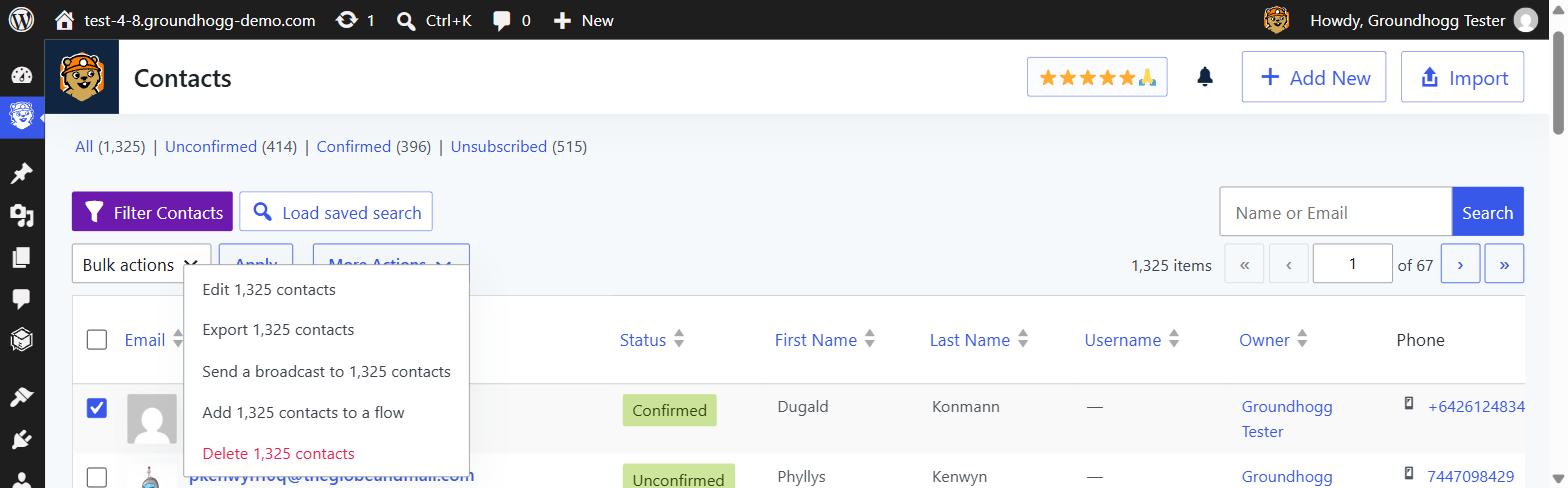
The More Actions menu extends contact management beyond the standard bulk actions, letting you edit, export, delete, send a broadcast to, or add to a flow the contacts you’ve selected. Available options may vary depending on which extensions and integrations you have installed.
Screen Options
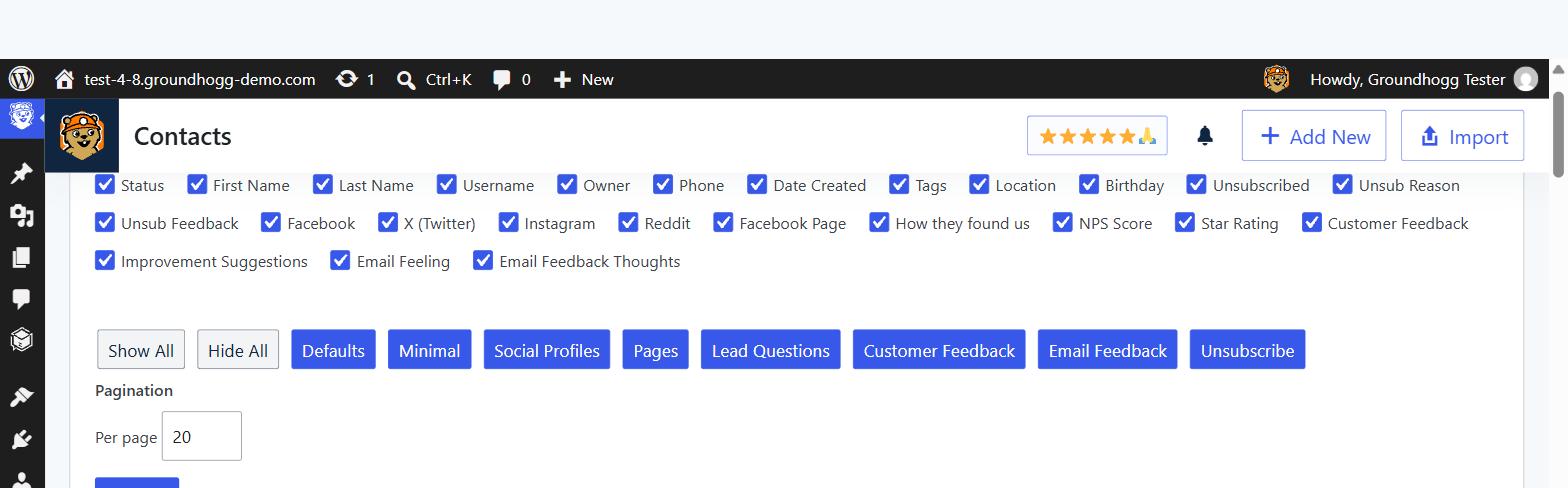
The Screen Options menu, available from the top right of the Contacts page, lets you show or hide table columns and adjust how many contacts are displayed per page — handy for tailoring the table to your workflow, especially with large contact lists.
Contact Actions
Hovering over a contact in the table reveals quick actions you can use without opening the full contact record:
- Quick Edit – update basic information such as name, email, and contact status.
- Edit – opens the full contact record where you can view and edit all contact information.
- Spam – marks the contact as spam and prevents further communication.
- Delete – permanently removes the contact from your CRM.
Was this helpful?
Let us know if this document answered your question. That’s the only way we can improve.