
Secure Your Sending Domain: SPF, DKIM, DMARC, DNSSEC and MTA-STS
The DNS records on your domain tell mailbox providers which services are allowed to send email as you, and what to do with email that fails those checks. Getting them right protects your domain from people impersonating you, and it helps your Groundhogg emails reach the inbox.
This guide covers the records that matter for email, in the order we recommend setting them up. You’ll make these changes wherever your domain’s DNS is managed, for example Cloudflare, GoDaddy or Namecheap.
Quick checklist #
| Record | What it does | Required? |
|---|---|---|
| SPF | Lists the services allowed to send email as your domain | Yes |
| DKIM | Signs your emails so they can’t be altered | Yes |
| DMARC | Tells providers what to do with email that fails SPF and DKIM | Yes |
| DNSSEC | Stops attackers from faking your DNS records | Recommended |
| MTA-STS and TLS-RPT | Make sure email sent to you is encrypted | Optional |
| BIMI | Shows your logo in the inbox | Optional |
SPF and DKIM #
Your SMTP service gives you the SPF and DKIM records to add when you verify your domain with them. See What is SMTP? if you haven’t chosen one yet.
A few things to watch for:
- You can only have one SPF record. If you use more than one sending service, like Google Workspace for your inbox and Amazon SES for Groundhogg, combine them into a single record, for example
v=spf1 include:_spf.google.com include:amazonses.com ~all. - Add DKIM for every service that sends as your domain, including your help desk, invoicing tool and newsletter platform.
DMARC #
DMARC ties SPF and DKIM together. It tells mailbox providers what to do when an email claiming to be from your domain fails authentication, and it sends you reports so you can see who’s sending as you.
It’s a single TXT record named _dmarc. Move it to enforcement in stages so you don’t block your own email by accident.
1. Start by monitoring #
If you don’t have a DMARC record yet, add this one:
| Type | Name | Content |
|---|---|---|
| TXT | _dmarc | v=DMARC1; p=none; rua=mailto:dmarc@yourbusiness.com |
p=none means nothing is blocked yet. The rua address receives daily reports from providers like Google and Yahoo. These reports are hard to read on their own, so we recommend sending them to a free DMARC report service instead, which turns them into a list of who’s sending as your domain.
2. Fix anything that’s failing #
Leave the policy at p=none for a couple of weeks and review the reports. Look for any legitimate service that’s failing SPF or DKIM, and set it up properly with that service. Common culprits are help desks, billing tools, and your website’s contact form.
3. Turn on enforcement #
When everything you recognize is passing, change the policy to quarantine:
v=DMARC1; p=quarantine; rua=mailto:dmarc@yourbusiness.comEmail that fails DMARC now goes to spam. If you want to roll this out gradually, you can add pct=25 and raise it over time, but remove pct (or set it to 100) once you’re confident. Some features, like BIMI, only work when the policy applies to all of your mail.
Once you’ve run at quarantine for a while with no problems, you can move to p=reject, which blocks failing email outright.
If emails from a legitimate service suddenly start going to spam after you turn on enforcement, set the policy back to
p=nonewhile you fix that service’s SPF or DKIM.
DNSSEC #
DNSSEC adds a digital signature to your DNS records, so attackers can’t trick a mail server into using fake records for your domain, for example to redirect email meant for you. It doesn’t affect deliverability directly, but it’s a free, low-maintenance security upgrade.
Turning it on takes two steps:
- Enable DNSSEC with your DNS provider. In Cloudflare, it’s under DNS > Settings > Enable DNSSEC. Your provider will show you a DS record with a key tag, algorithm, digest type and digest.
- Add the DS record at your domain registrar, where you bought the domain. In Namecheap, it’s under Domain List > Manage > Advanced DNS > DNSSEC. Enter the values exactly as your DNS provider shows them.
If your DNS provider and your registrar are the same company, they’ll often do the second step for you.
It can take up to a day to become active. Your DNS provider will usually show the status change from Pending to Active.
Before you ever turn DNSSEC off or move your DNS to another provider, remove the DS record at your registrar first and wait a day. If the DS record stays in place after the signatures are gone, your domain will stop working everywhere, including your website and email.
MTA-STS and TLS-RPT (optional) #
These two records are about email sent to your domain, not from it. MTA-STS tells other mail servers to always use an encrypted connection when delivering to you, so nobody can intercept or downgrade it. TLS-RPT sends you reports when that encrypted delivery fails.
They’re worth adding if your business receives sensitive email, but they won’t change whether your Groundhogg emails reach the inbox.
MTA-STS needs a small text file published on your website at https://mta-sts.yourbusiness.com/.well-known/mta-sts.txt:
version: STSv1
mode: testing
mx: *.yourmailprovider.com
max_age: 86400
Replace the mx line with your inbox provider’s mail servers (check your MX records). Then add two DNS records:
| Type | Name | Content |
|---|---|---|
| TXT | _mta-sts | v=STSv1; id=20261120 |
| TXT | _smtp._tls | v=TLSRPTv1; rua=mailto:tls-reports@yourbusiness.com |
Start in testing mode, watch the reports for a couple of weeks, then change it to mode: enforce. Change the id value whenever you edit the policy file.
BIMI (optional) #
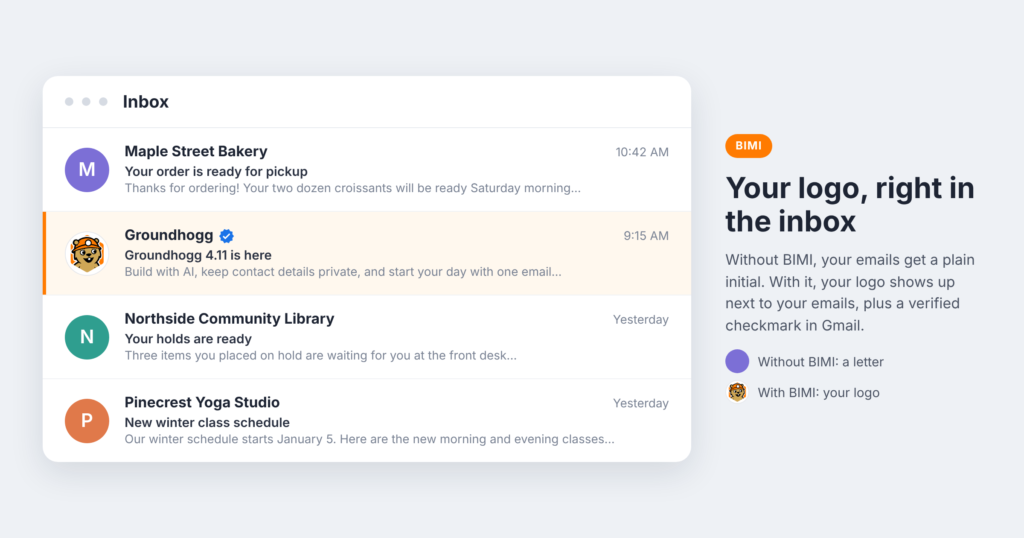
Once your DMARC policy is at quarantine or reject, you can show your logo next to your emails in Gmail, Apple Mail and Yahoo. See How to Show Your Logo in the Inbox with BIMI.
Check your setup #
After making changes, send a test email from Groundhogg to a personal Gmail address. Open it, click the three dots, and choose Show original. SPF, DKIM and DMARC should all say PASS.
Still stuck? Contact support and we’ll help you sort it out.